
The trees on my mantle began as a temporary fix until I found the right pieces of mercury glass. This one's too small, this one's too BIG, this one is just right. Instead of fulfilling that gap until something better came along, they have kind of grown on me. Hubby called them groovy, the girls both proclaimed them perfect. I now call them cute. Cute enough that they may actually get to stay. I haven't had a hankering to change the mantle, yet...
At any rate, I thought I'd share how we did them. We began with three sheets of poster board. The tallest was rolled so that the length created the height of the cone. The shortest was done the opposite, the width determined its height. For the middle one I grabbed a piece that had a section of its height cut away for another project. Its randomness then became our middle sized tree as seen below in white.

After we rolled and glued the cones we set them aside and brought out the paper we used to cover them.

A $5 book of scrap papers from Wally World- I knew they would all coordinate, it helped with the no brainer aspect that I was going for. We separated out the designs, grouping them by color. Black, white and red. There was green too, but I felt the pine added enough of that. We then proceeded to cut them into rough three inch wide strips. From there we did each color a little different.

For the tall, black tree we cut the strips into rough 1 by 3 inch pieces and made a point at the end of each. To make this go faster, use your best scissors and do them in piles. AND enlist child labor. Its free after all. :)

You can see the back of this cone is open. Its okay as long as you are tucking it up against a wall like I did. If not, well, you'll have to get a bigger piece of card stock or make it smaller or tack in another piece...You can see we added a thin strip of paper along the bottom of the cone to hide the white and give it a clean edge. Now you can start layering. Pointy side down, aiming to place the layer above the first with its pints in the center. KWIM? It doesn't always line up perfect, but you can't tell when you are all done. Promise.

For the white, medium sized tree we decided cutting the points was too tedious and chose to try triangle. Cut the strip at an angle to make a triangle and then straight up to the top of the angle for the next. Rinse and repeat. I chose to keep the triangles lined up all in the same direction, but it would probably look better if they collided once in a while. A little less planned looking.

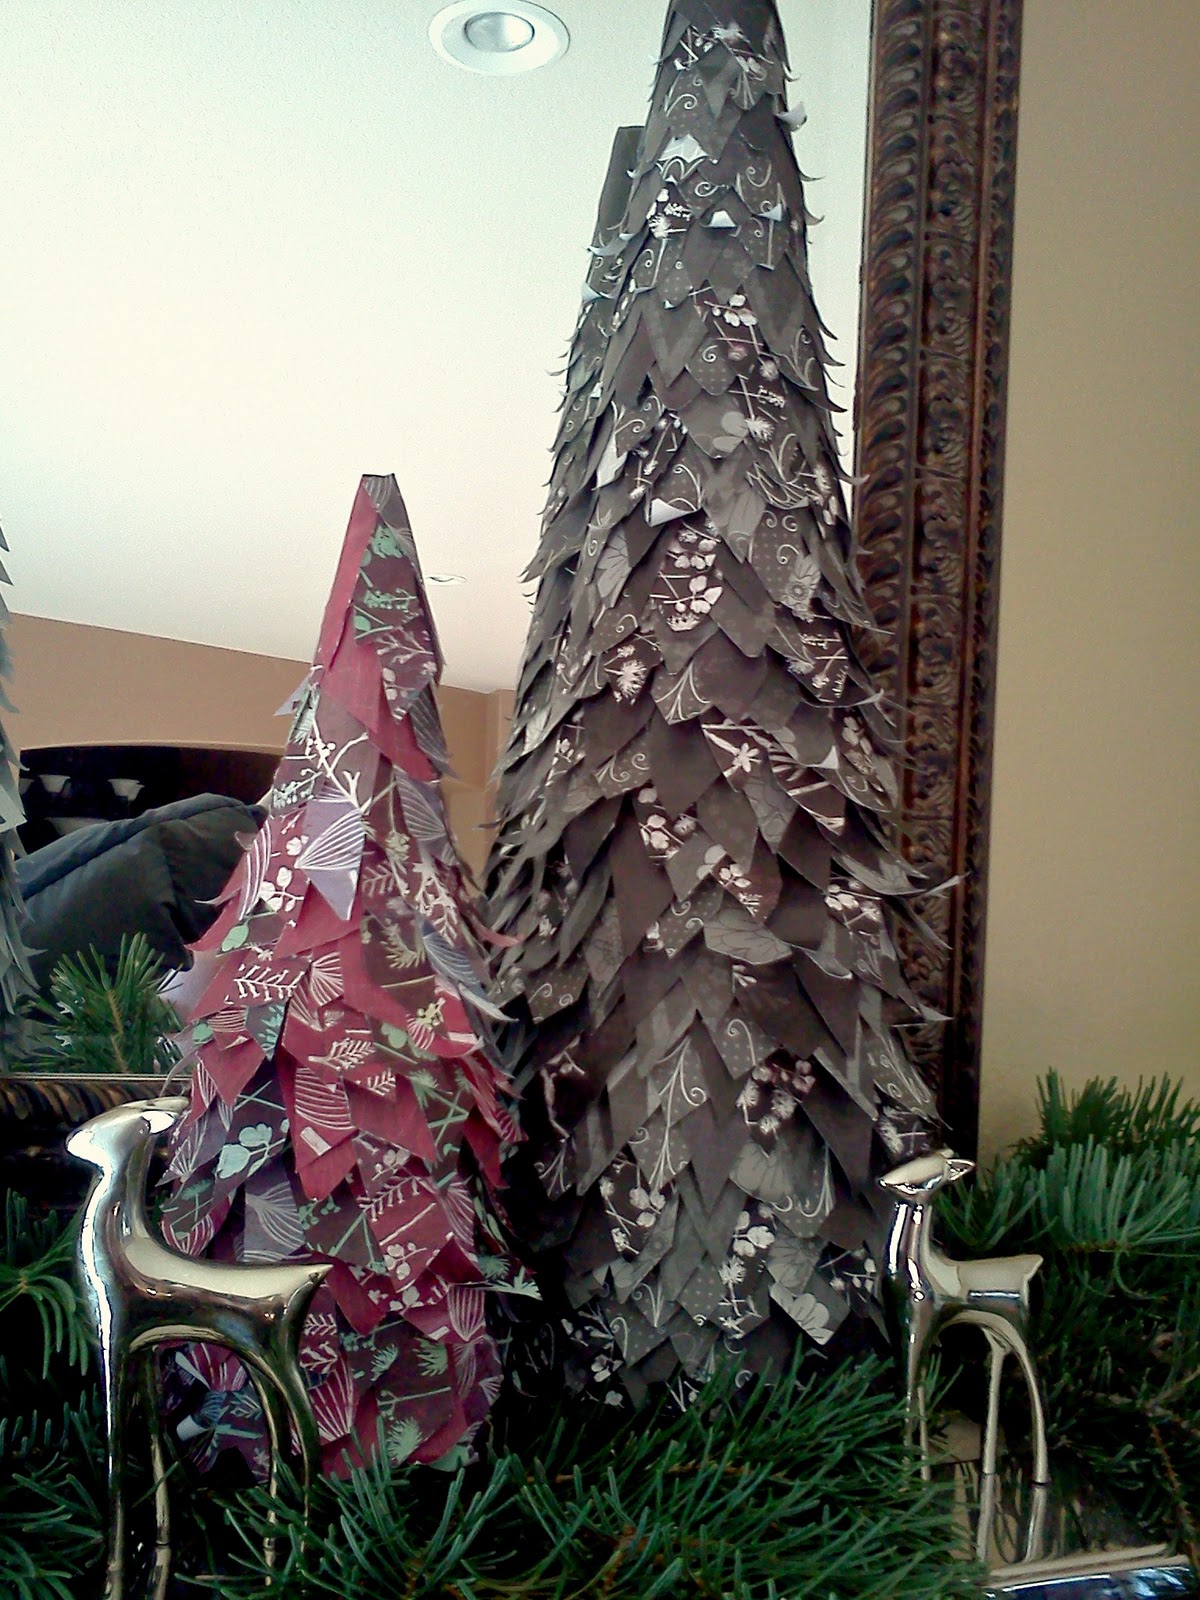
For the little red job, we decided we would combine the two previous shapes. So inch wide strips with one angle. Let the gluing commence!
Linking up with:
No comments:
Post a Comment